We became grandparents last year for the first time! We wanted a special place where our grandson and future grandchildren could feel comfortable and have their own space. It needed to be a neutral theme, one that would work for either a boy or a girl.
Fun with Dick and Jane seemed to be a perfect choice, I love the colors, and it would be sex neutral.

I had bought some material several years ago at a quilting store, long before I was going to be a grandma. So I was ready to start sewing and crafting!

I have had this old, red chenille bedspread forever.
I knew one day I would come up with a good use for it! I used it for the crib skirt and backing for a quilt.

The crib we had used with our children was in good condition and stored in the attic. So we put it together and gave it a good cleaning. We purchased the same mattress that our grandson had at home.

I made a simple quilt, using solid blue and yellow and
Fun with Dick and Jane squares. I cut the backing from the middle of my bedspread, which left me with narrow strips. These were perfect to use as the bed skirt. I hand-tied the quilt instead having it quilted, to me it looks more retro. If you look at the bottom of the picture you can see a white and yellow trimmed afghan I crocheted. At the top of the picture is a pillow I made using a different material.

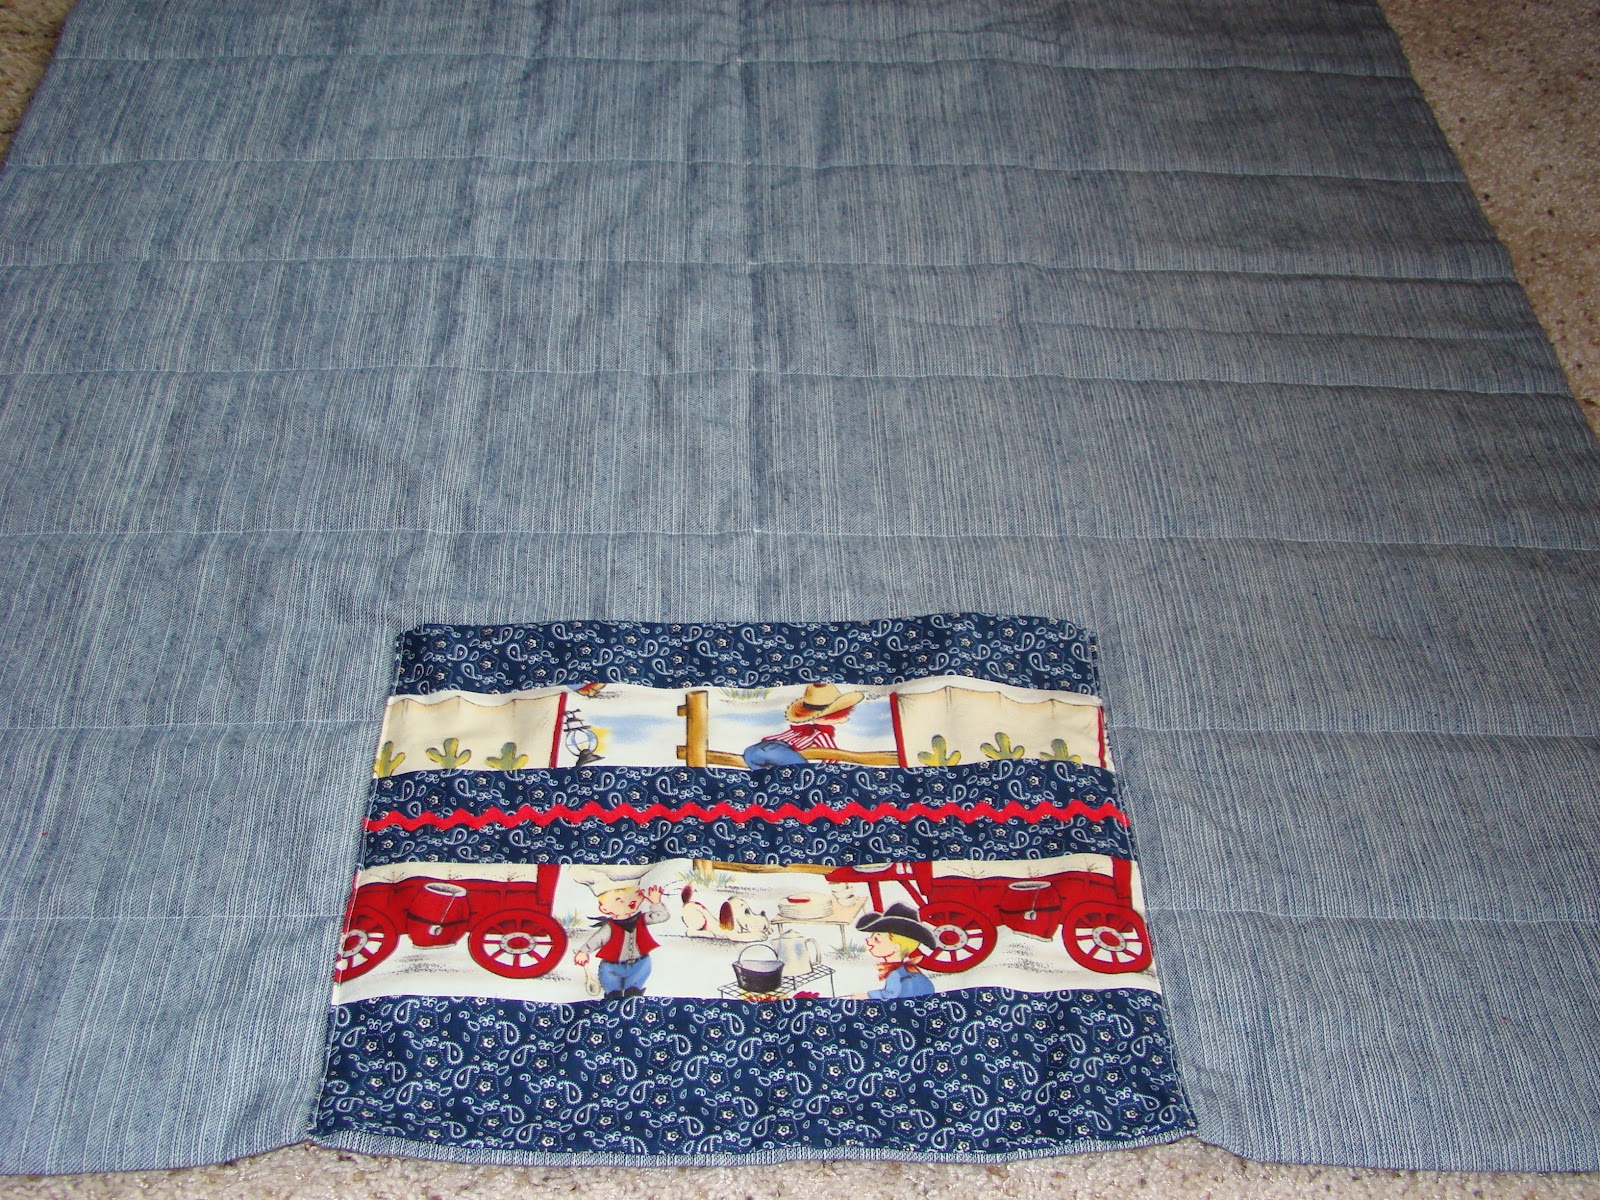
The reversed side of the quilt.

I used denim for the bottom of the bed skirt.
I cut the denim to fit and cut four strips of the chenille for each side.


It is exactly the look I wanted.

I had a used bummer pad that I covered with a red and blue striped material.

I wanted simple wall decorations. I made these by using thin artist canvas panels, material, modge podge and
rick rack. I love using these canvas panels, they are inexpensive and if you don't like something just paint back over them.

I first painted the canvas red, cut the material with a little bit of an over hang and enough to miter the corners. To seal it I used two coats of Modge Podge. I measured and made marks so each of my holes would be uniform and used an ice pick to make the holes.
Red and while polka dot rick rack is used to hang my wall art.

I also made subway art, again using artist canvas panels. I made stencils using my Cricut, painted, sprayed it with a sealer and glued a picture hanger on the back.
I even found a
Fun with Dick and Jane calendar at Hobby Lobby.

I had so much fun crafting this special project and look forward to our grandson's visits and
hopefully more grandchildren!
I will be sharing this post on these parties:
For the Kids Friday,
Fun for the Kids Friday, Made by you Monday's,
Gold Star Wednesday's, Frugal Friday, Making Monday Marvelous Day,
Weekend Wander